What is the Role of Survey Control in 3D Laser Scanning?

What is the Role of Survey Control in 3D Laser Scanning?
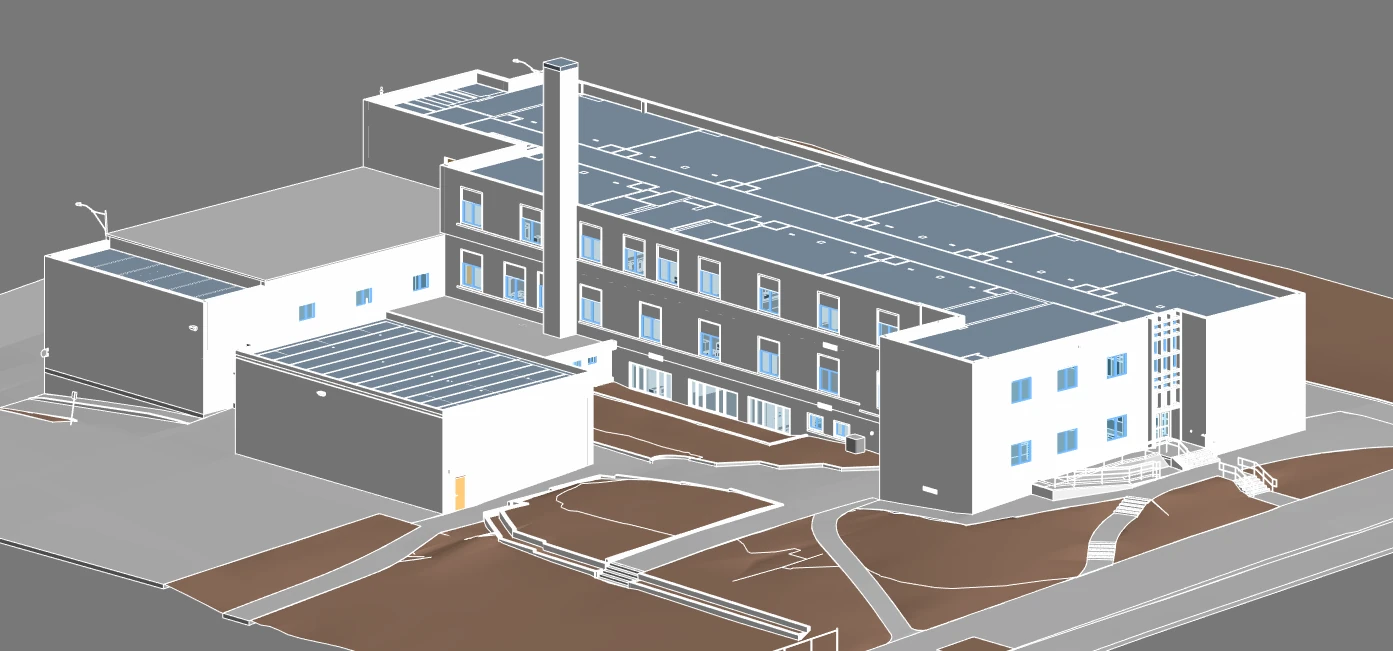
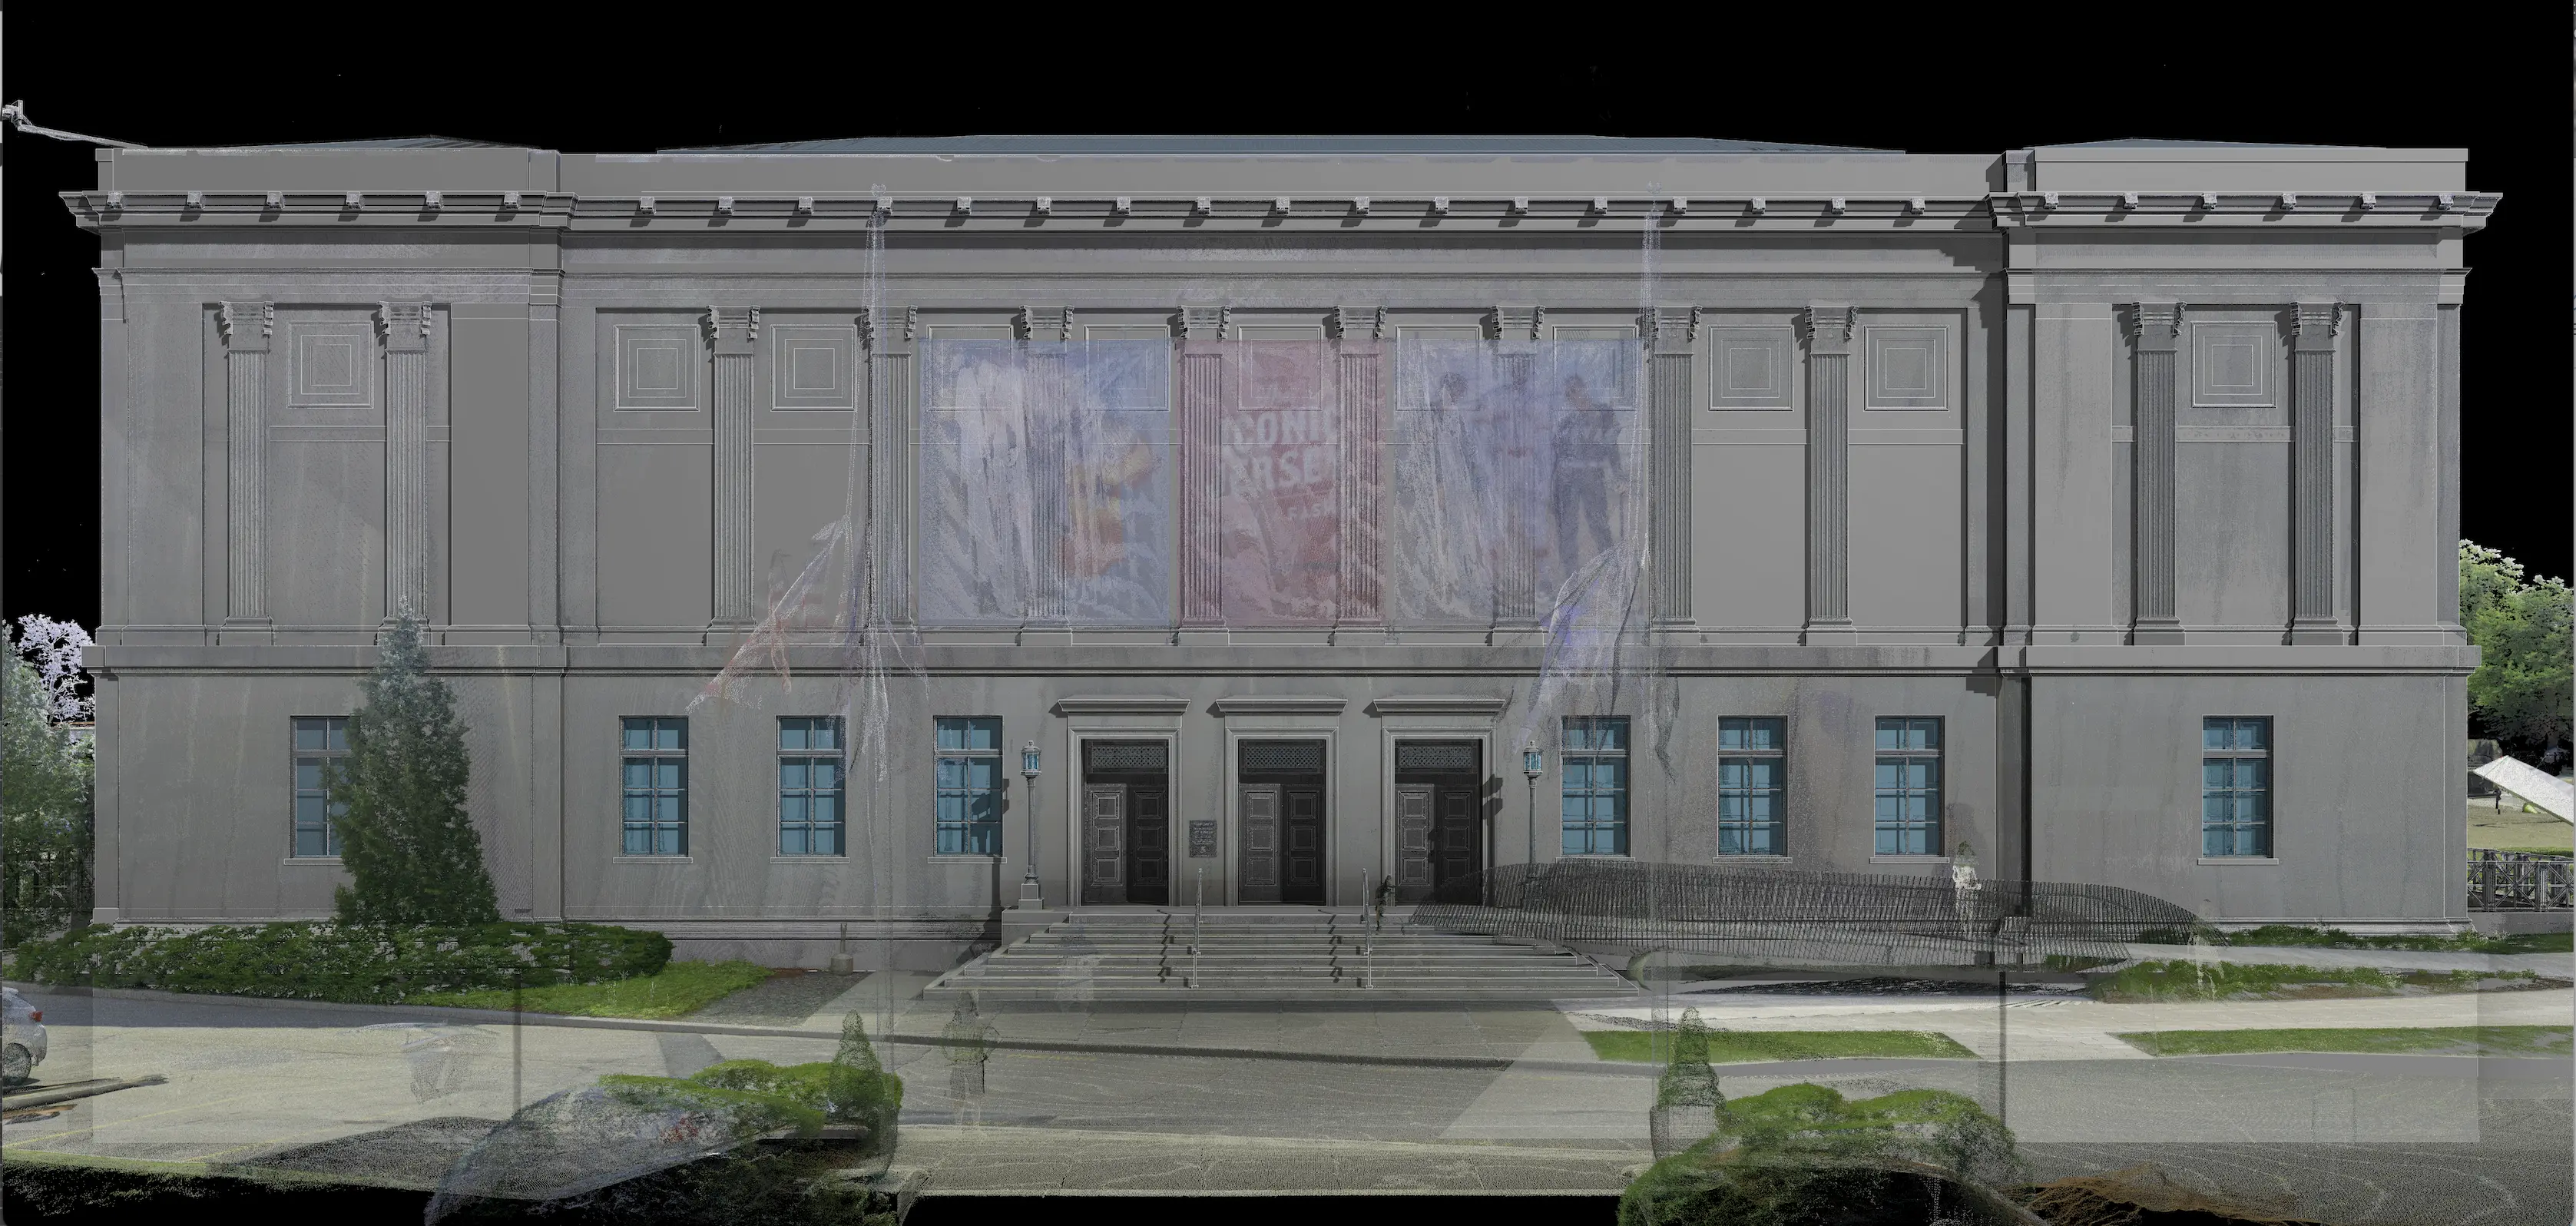
In the architecture, engineering, and construction (AEC) industry, precision is paramount. The integration of 3D laser scanning into project workflows has revolutionized how design teams capture and interpret site conditions. Central to the success of this technology is the establishment of survey control. Survey control ensures the alignment, accuracy, and reliability of laser-scanned data, enabling architects and engineers to create detailed, real-world representations of their projects. This article delves into the importance of survey control in 3D laser scanning and its applications in delivering precise 3D BIM models and 2D CAD drawings.

Understanding Survey Control in 3D Laser Scanning
Survey control refers to the use of accurately positioned reference points, also known as control points, to anchor 3D laser-scanned data within a spatial coordinate system. These reference points are determined using traditional surveying tools such as GPS or total stations. Control points act as fixed anchors for aligning, registering, and geo-referencing laser scans, particularly in large or complex areas. By tying laser scan data to known survey control points, AEC professionals can trust that the resulting 3D BIM models and 2D CAD drawings are accurate and consistent.
Survey control serves as the foundational framework for 3D laser scanning, providing a precise, real-world context for the data collected. This ensures that architects and engineers can rely on the accuracy of their digital models during design, construction, and maintenance phases.
Why Survey Control is Critical in AEC Projects
For architects and engineers, survey control is not just a technical detail—it is a critical component that underpins the accuracy and reliability of all subsequent work. Without control points, it becomes challenging to match BIM data to physical site conditions accurately. The absence of reliable survey control can lead to costly construction errors, misaligned designs, and significant delays.
Key Benefits for BIM Models
Alignment with Real-World Conditions: Survey control ensures that the virtual BIM model aligns perfectly with the physical site, preventing positioning errors that can disrupt construction workflows.
Enhanced Collaboration: Accurate survey control allows project teams to work seamlessly within a shared data environment, reducing errors and misunderstandings between disciplines.
Improved Project Outcomes: By tying laser scan data to control points, teams can minimize miscommunication and rework, resulting in projects delivered on time and within budget.

Key Elements of Survey Control in 3D Laser Scanning
Implementing survey control involves several critical steps:
1. Establishing Control Points
Control points are physical markers or targets placed at pre-measured locations within the survey area. These points are typically established using GPS or total stations, which provide precise coordinates. During the scanning process, the laser scanner references these points to position itself accurately within the environment.
2. Defining Coordinate Systems
Survey control establishes the coordinate system for the laser scan data. This may be a global system, such as geographic coordinates, or a local system tailored to a specific project site. Aligning laser scan data with a defined coordinate system ensures compatibility with other deliverables, including 2D CAD drawings and 3D BIM models.
3. Placement of Scanning Targets
Targets, such as black-and-white markers on fixed-height tripods, are placed at control points to guide the scanner. These targets are scanned and identified by software, which uses them to align and register the point cloud data.
4. Global and Local Control
Survey control can operate on both local and global scales. Global Navigation Satellite Systems (GNSS) and Real-Time Kinematic (RTK) systems provide satellite-based positioning for precise control point establishment. This is especially valuable for large-scale projects that require alignment across multiple scans or sites.
5. Registration and Alignment
Once the scanning is complete, the raw point cloud data is registered to the control points. This process ensures that individual scans fit together precisely and align with the real-world coordinate system.
6. Quality Assurance
Control points are essential for validating the accuracy of laser scanning. By comparing the scanned coordinates with known control point positions, professionals can detect and correct misalignments or deviations.
Benefits of Survey Control in 3D Laser Scanning
Survey control provides a range of benefits for architects and engineers:
Accurate Models: Control points minimize alignment errors, resulting in highly accurate 3D models that reflect real-world conditions.
Seamless Integration: Survey control ensures compatibility with other datasets, such as GIS, CAD, and BIM, enhancing project workflows.
Time and Cost Savings: Reliable control reduces the need for repeated adjustments, saving time and minimizing rework.
Improved Collaboration: Georeferenced data allows teams to integrate and share information effectively, fostering better coordination across disciplines.
Alignment for Large Projects: In complex projects requiring multiple scans, control ensures consistent alignment across all datasets.
When Survey Control May Not Be Necessary
While survey control is indispensable for most projects, there are instances where it may not be required:
Smaller Projects: For residential or interior fit-out projects, manual alignment of the point cloud with BIM models or CAD drawings may suffice.
Simple Verification Tasks: When verifying specific elements, such as window or door dimensions, control points may be unnecessary. Direct measurements from the point cloud can provide sufficient accuracy.
Initial Site Assessments: In early project stages, when the focus is on understanding general site conditions, establishing survey control may not be critical.
Why Choose Existing Conditions 3D Laser Scanning Services
For architects, engineers, and contractors, precision and reliability are non-negotiable. Existing Conditions ensures that survey control is seamlessly integrated into the 3D laser scanning process to deliver the highest level of accuracy. By incorporating control points, Existing Conditions Scan-to-BIM Services provide precise alignment of surveyed conditions with BIM models and CAD drawings. This approach streamlines project coordination and enhances collaboration among all stakeholders.
With expertise in LiDAR scanning and survey-grade equipment, Existing Conditions is a trusted partner for the AEC industry. Our team delivers detailed, accurate, and timely scanning services, ensuring that every project benefits from precise and reliable data.
Existing Conditions 3D Laser Scanning Services
Over the past 27 years, we have measured, documented, and modeled over 10,000 buildings spanning over 700 million square feet across the United States, establishing ourselves as an industry leader in 3D laser scanning. Architects, builders, engineers, developers, facility managers, trust us to deliver digital representations of the as-built environment with unparalleled accuracy and efficiency. Our dedicated Project Managers provide fast and accurate 3D laser scanning services and drone imagery services, and expert CAD and BIM technicians create custom, detailed deliverables. Our greatest reward remains delivering superior-quality scan-to-BIM work and knowing we played a vital role in our clients’ unique and historic projects.
FAQs
What is LiDAR?
.svg)
LiDAR, which stands for Light Detection and Ranging, is a remote sensing method used to generate precise, three-dimensional information about the shape of an object and its surface characteristics. 3D laser scanners utilize LiDAR technology to precisely capture the three-dimensional data of a structure or site. LiDAR operates by emitting light as a pulsed laser to measure distances to a target. When these laser pulses bounce back to the scanner, the distances are recorded, mapping the spatial geometry of the area. This process collects millions of measurement points, each with x, y, and z coordinates, forming what is known as a point cloud.
Why is a Point Cloud Important?
.svg)
Point clouds provide powerful and dynamic information for a project. By representing spatial data as a collection of coordinates, point clouds deliver large datasets that can be mined for information. The visualization and analysis from this data is invaluable for decision making. Our Product team transforms point clouds into customized drawings and models used for visualization, analysis, design, construction, renovation, prefabrication, and facility modifications.
How Accurate is the Point Cloud and BIM Model?
.svg)
Point clouds are a digital representation of spatial information, stored as a collection of points with three spatial coordinates. They are millimeter-accurate and are scanned in the level of detail required for your project. BIM model features are created to your project-specific scope, LOD specifications can vary throughout the model. By specifying scope and project details, BIM models can be customized to your project.


